User Manual
Updated 2026-07-07. Use this manual for onboarding, daily reference, and printable handover material.
Contents
- Getting Started
- My Work Dashboard
- Personal Task Management
- Shared Tasks
- Team Tasks
- Friends And Referrals
- Messages
- Notes
- Reminders
- Reports
- Notifications
- Organisation Management
- Teams
- Team Planning Board
- Recurring Routines And Approvals
- Media Storage & Quotas
- Admin Guide
- Tickets & Issue Tracking
- Automation Boards (Kanban)
- GitHub Integration
- Trial Accounts & Feature Access
Roles
A single-user workspace with personal tasks, reminders, notes, reporting, and collaboration tools.
A user working inside an organisation with access controlled by role and feature permissions.
An organisation owner or admin who can manage members, permissions, invitations, and teams.
The highest-level administrator with access to system-wide user, license, and broadcast controls.
Visual Walkthrough
Illustrated previews of the main working areas for faster onboarding and printing.
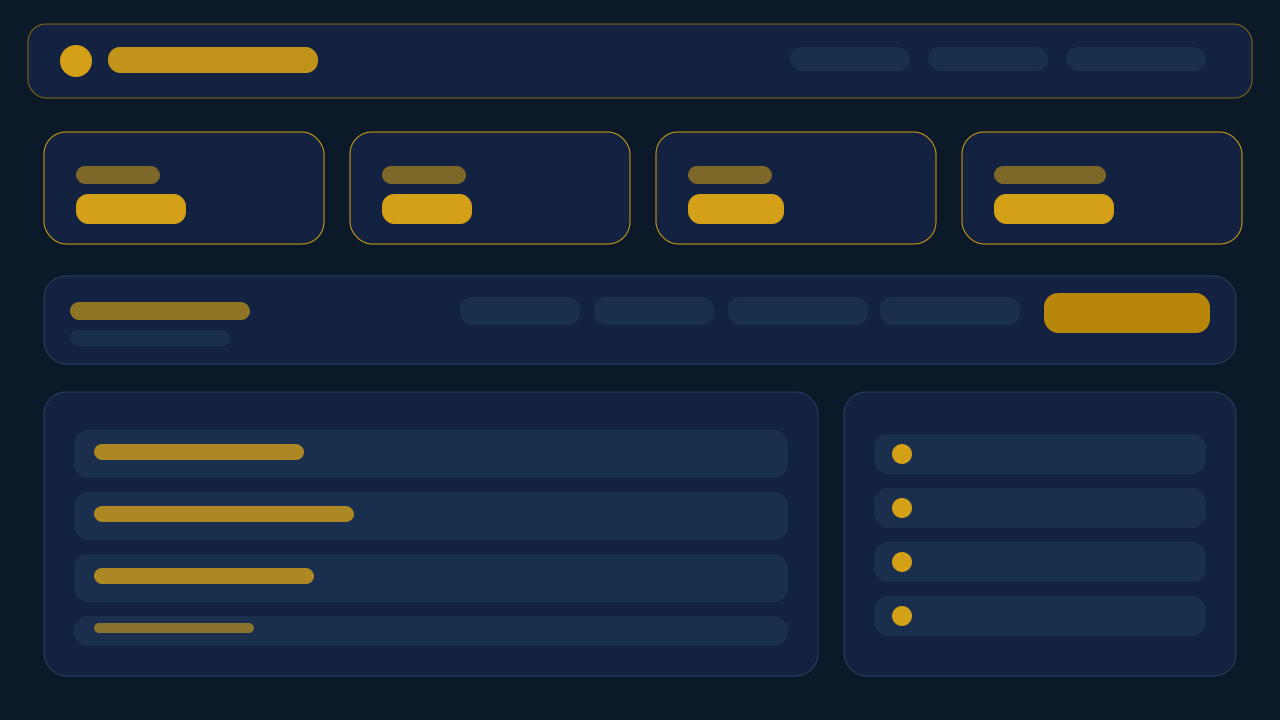
Shows the My Work layout with headline stats, quick filters, and task lists.
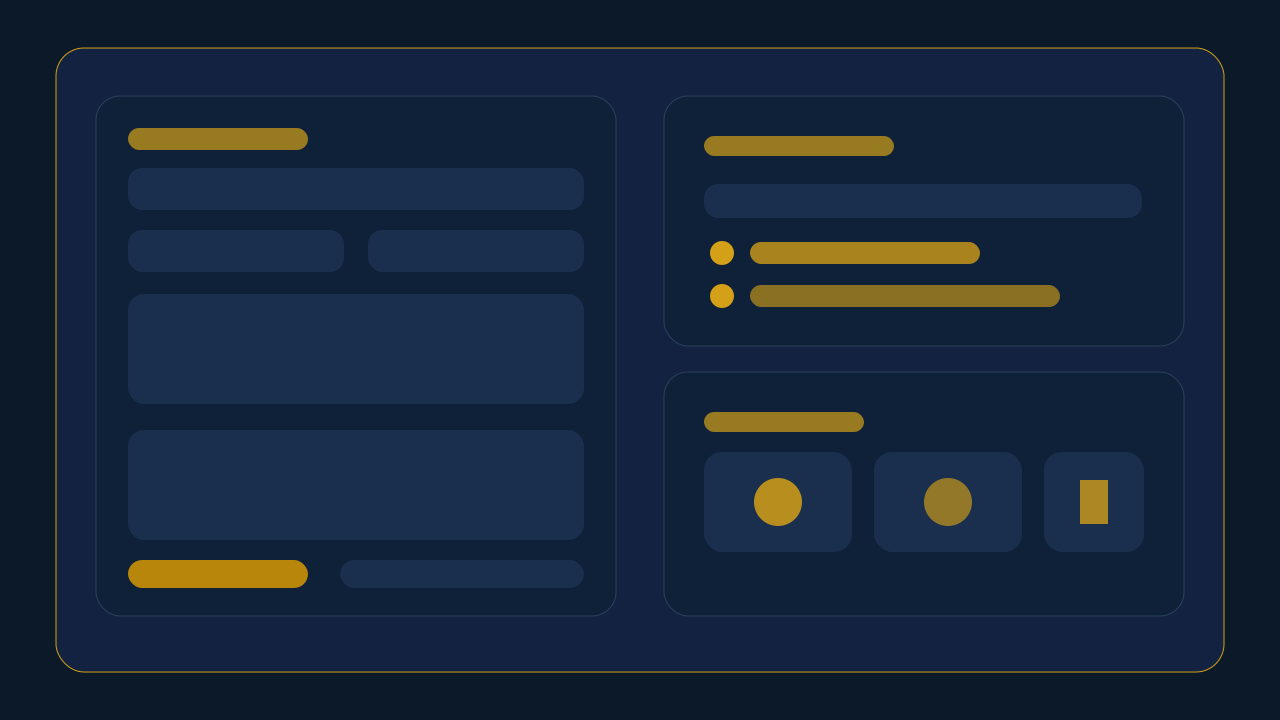
Highlights task creation fields, checklist planning, priority, and attachments.
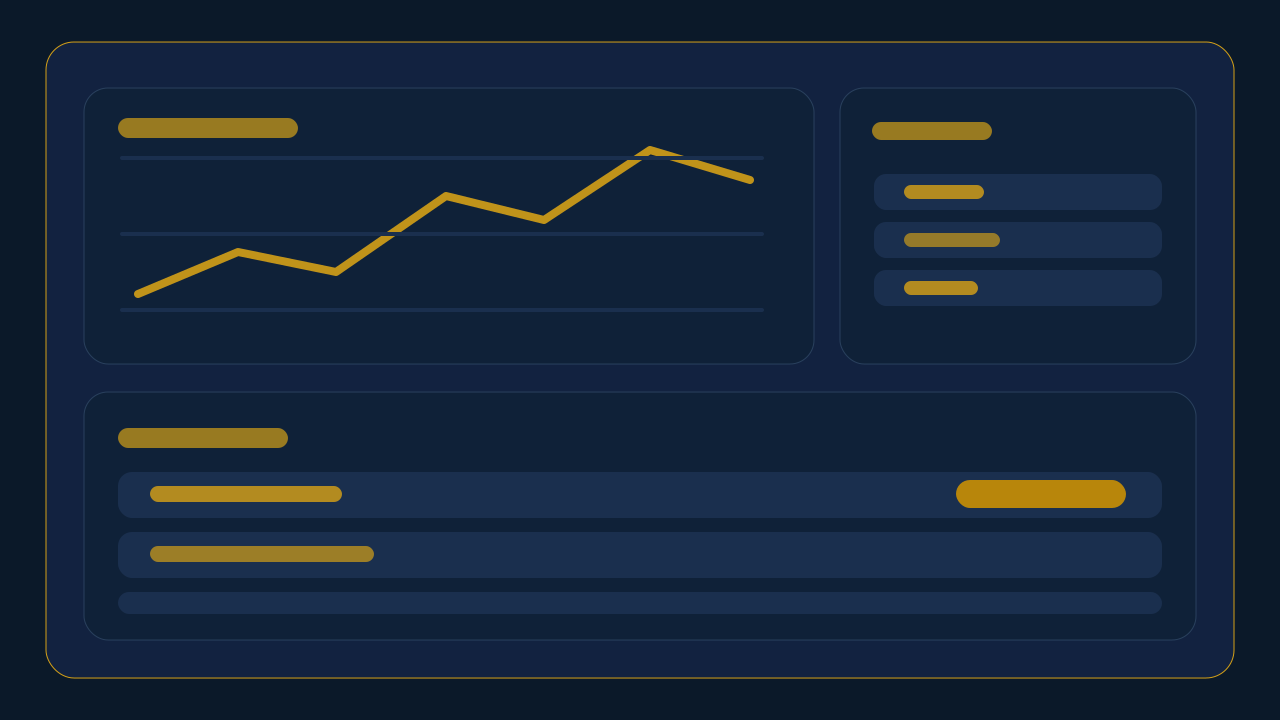
Previews the chart, breakdown table, and email reporting actions.
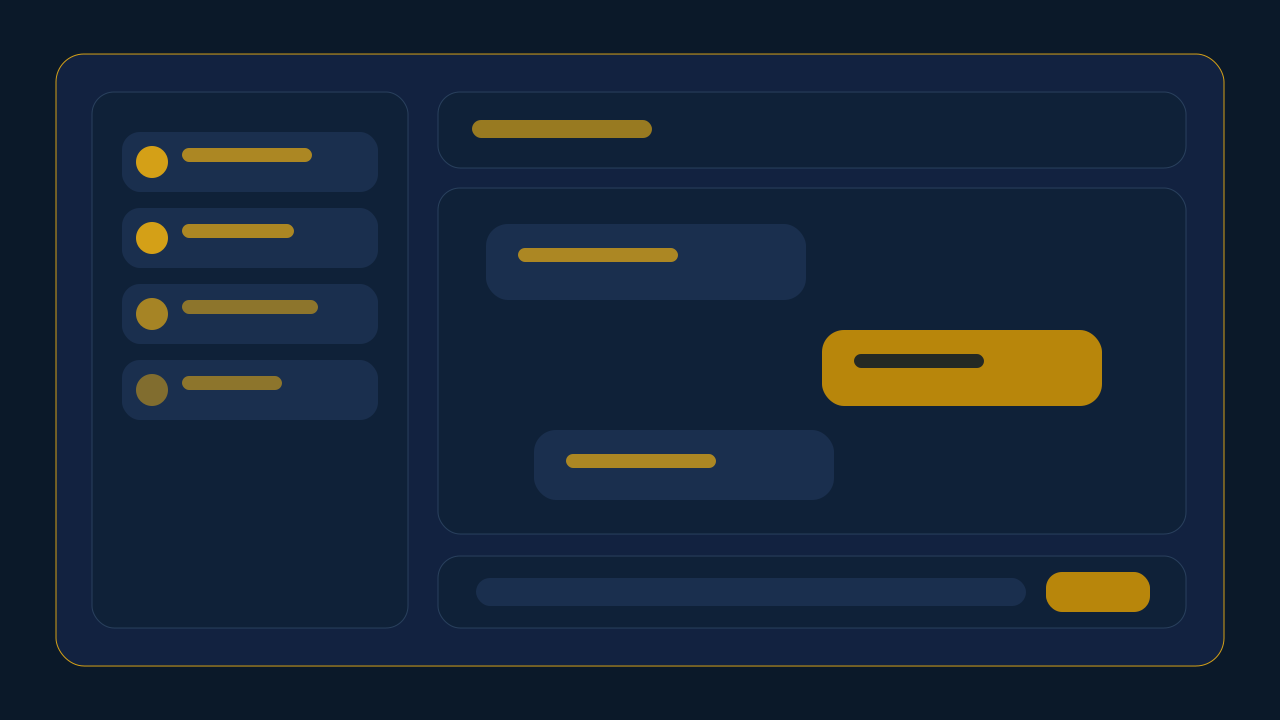
Shows conversation lists, unread markers, and the chat composer.
Explains due-today counts, repeat settings, and reminder list behavior.
Summarizes invites, permissions, member controls, and organisation settings.
Getting Started
Create an account, sign in, understand license access, and open the workspace for the first time.
- New users
- Invited users
- Existing users reviewing account access
- Create a personal or organisation account
- Start a free trial when available
- Sign in and recover access
- Review payment and license status
- Update profile and password
- Open Sign Up and choose Personal or Organisation.
- Enter the required account details and complete registration.
- Sign in with your username and password.
- If access is blocked, review Pricing and the license status message.
- Open Account Info after login to keep profile details current.
- Usernames must be at least 3 characters.
- Passwords must be at least 6 characters.
- Some accounts require payment or administrator approval before full workspace access begins.
My Work Dashboard
Use the dashboard as the main working screen for focused work, overdue items, saved views, and daily planning.
- Personal users
- Organisation members
- Organisation admins
- Switch between Focus, Today, Overdue, In Progress, and High Priority views
- Filter by date, status, and priority
- Save and reorder custom views
- Open personal, shared, and team tasks
- Open Dashboard after sign-in.
- Start with Focus to review what needs attention first.
- Use filters to narrow the work list.
- Save frequently used filter combinations as reusable views.
- Open tasks from the dashboard to edit, collaborate, or complete them.
- Saved views are private to the current user.
- Completed tasks are sorted below active work.
- Invalid filter values fall back to safe defaults.
Personal Task Management
Create, organize, update, complete, and share personal tasks with clear priorities and checklist support.
- Users managing personal work items
- Create tasks with title, date, status, category, priority, and estimate
- Attach files or images
- Add and reorder checklist items
- Share tasks with friends
- Record actual time when completing work
- Create the task from the dashboard.
- Add the description, due date, category, priority, and estimate.
- Break the work into checklist items if needed.
- Attach supporting files or images when useful.
- Complete the task and add actual time once the work is finished.
- Task title is required.
- Only personal tasks can be shared with friends.
- Completed tasks are locked and cannot be edited, deleted, or shared.
Team Tasks
Work inside a team task workspace where team members can follow progress and the owner controls the core task record.
- Members of the assigned team
- Team task owners
- Review task status, timing, description, and attachments
- Post update comments
- Upload files to updates
- Manage checklist items if you own the task
- Complete the task if you own it
- Open the team task from the dashboard or notification.
- Review the task status and checklist progress.
- Add update comments for progress, blockers, or handoffs.
- If you own the task, keep the checklist and main task record current.
- Complete the task when all team work is done.
- Only members of the related team can open the task.
- Only the owner can edit the main task record.
- Completed team tasks are locked.
Friends And Referrals
Connect with other users, manage friend requests, and invite non-users into the platform by email.
- Users with the Friends permission
- Send friend requests by exact username or email
- Accept or reject incoming requests
- Review sent requests
- Remove existing friends
- Send referral invites by email
- Open Friends from the top navigation.
- Send a request using the exact username or email address.
- Accept or reject incoming requests as needed.
- Use Invite by Email for people who do not yet have an account.
- Track referral status in the referral list.
- You cannot add yourself.
- Add-friend search requires an exact username or exact email.
- If the email already belongs to a user, use Add Friend instead of Invite.
Messages
Send direct messages and attachments through a focused conversation view tied to your contacts and friends.
- Users with the Messages permission
- Open conversations
- Send text messages
- Attach files or images
- Review unread counts
- Start messaging from an existing friend connection
- Open Messages from the top navigation.
- Select a conversation from the sidebar.
- Type your message and attach files or images when needed.
- Send the message.
- Use unread badges to prioritize replies.
- Attachments up to the supported size limit can be uploaded.
- Large files may be rejected.
- Messaging is built around valid contacts and friend relationships.
Notes
Keep notes, reference files, and shared note content in one place with color-coding and attachments.
- Users with the Notes permission
- Create and edit notes
- Choose note colors
- Attach files
- Share notes with friends
- Delete notes and note files
- Open Notes from the top navigation.
- Create a new note with a clear title.
- Add body text, choose a color, and upload files if needed.
- Share the note with a friend when collaboration is needed.
- Remove outdated files or delete the note when it is no longer useful.
- Note title is required.
- Attachment size limits apply.
- Sharing works with friends only.
Reminders
Create one-time and recurring reminders so deadlines, follow-ups, and routine work stay visible.
- Users with the Reminders permission
- Create reminders with date and optional time
- Set recurring schedules
- Filter by date range
- Mark reminders complete or active
- Track what is due today
- Open Reminders from the top navigation.
- Create the reminder with title, date, and optional time.
- Choose a repeat schedule if it should recur.
- Use filters for weekly or monthly reviews.
- Mark reminders complete once the action has been handled.
- Title and date are required.
- Repeat-until cannot be earlier than the main reminder date.
- Due-today reminder counts appear in the header when applicable.
Reports
Review daily activity, filter task history, send focused reports by email, and schedule recurring manager or client report packs.
- Users with the Reports permission
- Review the tasks-per-day chart
- Open daily breakdowns
- Filter by date and status
- Send full email reports
- Send single-task or team-task reports
- Create scheduled report packs
- Open Reports from the top navigation.
- Use the chart and daily table to review recent activity.
- Apply date and status filters to narrow the detailed task list.
- Send one-off reports when needed.
- Use Scheduled Report Packs to automate recurring sends for managers or clients.
- A valid email address is required for sending.
- Reports cannot be sent when the selected date range has no matching tasks.
- Scheduled packs only send when matching tasks exist for the current filter window.
Notifications
Monitor messages, task activity, reminders, license warnings, announcements, and other system events in one stream.
- All signed-in users
- Review recent notifications
- Open linked items from notifications
- Mark one item read
- Mark all items read
- Open Notifications from the top navigation.
- Review unread items first.
- Use View to open the related screen when a link is available.
- Mark individual items or all items as read after handling them.
- Not every notification includes a direct link.
- Read status is stored per user.
- Unread items are highlighted visually.
Organisation Management
Manage organisation members, permissions, invitations, announcements, and ownership changes.
- Organisation owners
- Organisation admins
- Invite members
- Update roles and feature permissions
- Remove members
- Cancel invites
- Rename the organisation
- Transfer ownership
- Send organisation announcements
- Open Organisation > Manage from the top navigation.
- Review member count and user limit.
- Invite users by email when capacity is available.
- Adjust roles and permissions as responsibilities change.
- Transfer ownership before an owner leaves the organisation.
- Only owners can rename the organisation or transfer ownership.
- Invites cannot exceed the organisation user limit.
- Users already in another organisation cannot be invited directly.
Teams
Create and manage teams inside an organisation so team-task access follows real membership.
- Organisation owners
- Organisation admins
- Organisation members viewing team membership
- Create teams
- Open team details
- Add members
- Remove members
- Delete teams
- Open Organisation > Teams from the top navigation.
- Create a team with a clear functional name.
- Open the team to review current membership.
- Add or remove members as responsibilities change.
- Delete teams only when they are no longer needed.
- You must belong to an organisation to use Teams.
- Only owners and admins can change team membership.
- Team names must be at least 2 characters.
Team Planning Board
Review team workload by member and status so managers can balance assignments before bottlenecks build up, including blocked work and dependency impact.
- Organisation owners
- Organisation admins
- Organisation members reviewing team capacity
- Filter by team and date range
- Include or hide completed work
- Review workload cards by member
- Inspect task status columns
- Spot overdue, blocked, or overloaded work quickly
- Open Organisation > Planning Board from the top navigation.
- Choose a team or leave the view on all teams.
- Set the date range you want to review.
- Use member workload cards to identify uneven assignments or blocked work.
- Open the linked tasks to review or update dependencies.
- You must belong to an organisation to view the planning board.
- Completed work can be hidden from the board for cleaner planning.
- Blocked counts depend on task dependencies linked inside team task workspaces.
Recurring Routines And Approvals
Automate repeat operating work by creating routine templates that generate tasks on a schedule, optionally after approval.
- Organisation owners
- Organisation admins
- Assigned approvers
- Create recurring routine templates
- Assign routines to teams and members
- Set schedule, priority, and estimated duration
- Pause or activate routines
- Approve or reject pending routine runs
- Open Organisation > Routines from the top navigation.
- Create a routine with title, assignee, repeat pattern, and optional team.
- Enable approval and choose an approver when the task should be reviewed first.
- Monitor the template list for next-run dates and pending approvals.
- Open the Approval Queue to approve or reject generated routine runs.
- Only organisation owners and admins can create, pause, or delete routine templates.
- Approval-based routines require a valid active approver.
- Paused routines do not generate new runs until they are activated again.
Media Storage & Quotas
Manage uploaded files and images across all features, track storage usage against your plan limit, and free up space when needed.
- Personal users
- Organisation owners
- Organisation admins
- View storage usage bar and percentage
- Browse all uploaded files with type, source, size, and date
- Preview images or download files by clicking the filename
- Delete individual files to free space
- Upgrade storage from Account or Pricing pages
- Open Account (or Organisation) and scroll to Media Storage.
- Check the usage bar to see how much of your plan limit is used.
- Click Show Files to expand the file list.
- Click any image filename to preview it in a new tab.
- Delete files you no longer need to stay under your limit.
- Storage limit depends on your license plan (100 MB free, 1–10 GB paid).
- Uploads are blocked when your limit is reached.
- At 90% usage a notification is sent and a red warning bar appears.
- Deleting a task removes all its media automatically.
Admin Guide
Manage users, licenses, broadcasts, account lifecycle controls, and operational health from the admin panel.
- Admin users
- Primary system administrator for full system actions
- Review health metrics
- Enable or disable accounts
- Grant or remove admin access
- Grant trial or personal licenses
- Approve renewal requests
- Send system broadcasts
- Delete users and related data
- Open the Admin panel from the top navigation.
- Review the health dashboard for usage, renewals, expiring licenses, and support-watch signals.
- Apply the required user or license action.
- Use restricted controls for broadcasts and renewal approvals.
- Transfer organisation ownership before deleting an organisation owner.
- Only the primary system administrator can send system-wide broadcasts.
- Only the primary system administrator can approve renewal requests.
- At least one active admin must remain enabled.
- Organisation members do not use the personal-license flow.
Tickets & Issue Tracking
Create, categorize, prioritize, and resolve tickets through a full lifecycle with file attachments and board-driven workflows.
- Personal users
- Organisation members
- Organisation admins
- Create tickets with title, description, category, and priority
- Attach files or images with drag-and-drop
- Track tickets through Open → In Review → In Progress → Resolved → Closed
- Send tickets to your board for workflow management
- Link tickets to GitHub issues and pull requests
- Open Tickets from the top navigation.
- Create a ticket with a clear title, description, and priority.
- Attach supporting files using the drag-and-drop upload zone.
- Use "Send to Review" to place the ticket on your automation board.
- Move the ticket through board columns to drive GitHub issue creation and PR workflows.
- Ticket title is required.
- Tickets are personal (per-user) or organisation-scoped.
- Board column movement auto-updates ticket status.
Automation Boards (Kanban)
Manage work visually through personal or organisation Kanban boards with automated GitHub integration at every column.
- Personal users
- Organisation members
- Organisation admins
- Create multiple boards with custom names
- Move cards between columns by drag-and-drop or action buttons
- Assign cards to team members
- Auto-create GitHub issues and branches on Ready for GitHub
- Auto-create pull requests on Ready for Merge
- Close cards from the final column
- Open My Board (personal) or Organisation Board from the top navigation.
- Create a board with a descriptive name (e.g., "Sprint 14").
- Send tickets to the board from the ticket detail page.
- Move cards through: In Review → Backlog → Ready for GitHub → Ready for Merge.
- Cards reaching Ready for GitHub automatically create GitHub issues and branches.
- Cards reaching Ready for Merge automatically create pull requests.
- Each board has 4 columns: In Review, Backlog, Ready for GitHub, Ready for Merge.
- GitHub integration must be configured before column automation works.
- Personal boards use your personal GitHub token; org boards use the org token.
GitHub Integration
Connect OrbitOverflow to GitHub repositories for automated issue creation, branch management, pull requests, and real-time tracking.
- Personal users with GitHub accounts
- Organisation owners and admins
- Developers using the board workflow
- Configure GitHub Personal Access Token
- Browse and filter GitHub issues and pull requests
- Auto-create issues when cards reach Ready for GitHub
- Auto-create branches alongside issues
- Auto-create pull requests when work is ready for merge
- Track branch, PR, and merge status on tickets
- Generate a GitHub Personal Access Token with repo scope from github.com/settings/tokens.
- Paste the token in Account → GitHub Integration (personal) or Organisation → Settings → GitHub Integration.
- Enter your repository name (e.g., "owner/repo").
- Use the board workflow: cards on Ready for GitHub create issues, cards on Ready for Merge create PRs.
- Open the GitHub tab to browse issues and pull requests directly inside OrbitOverflow.
- GitHub tokens require "repo" scope for full branch and PR automation.
- Organisation tokens apply to all members; personal tokens override for personal boards.
- Branches are auto-created from main (or master fallback) when a card reaches Ready for GitHub.
- PRs are created from the feature branch into the default branch.
Trial Accounts & Feature Access
Understand what trial accounts can access, how feature gating works, and how to upgrade to a full paid plan.
- New trial users
- Users evaluating OrbitOverflow
- Explore Dashboard, Friends, Messages, Release Notes, and Help
- View the roadmap and release history
- Request a license upgrade from Pricing
- Activate a paid personal or organisation license
- Sign up for a trial account.
- Explore the available features: Dashboard, Friends, Messages, Release Notes, and Help.
- Visit Pricing to review paid plan options and storage tiers.
- Request or purchase a license to unlock all features including projects, tickets, boards, GitHub, reports, notes, and reminders.
- Trial accounts cannot change Feature Visibility settings.
- GitHub Integration is hidden for trial users.
- Storage is limited to 100 MB during trial.
- Paid features include GitHub + Automation Boards as a purchasable package.